|
|
Mike's Mini Project - page 9 |
|
|
|
Now the fun part begins as the color goes on, followed by the clearcoat to give the car a nice shine. |
|
|
|
|
|
|
|
|
|
|
|
|
|
Home
Mike'
Project | | Page 1 | Page 2 | Page 3 | Page 4 | Page 5 | Page 6 | Page 7 | Page 8 | Page 9| Page 10 Page !!
|
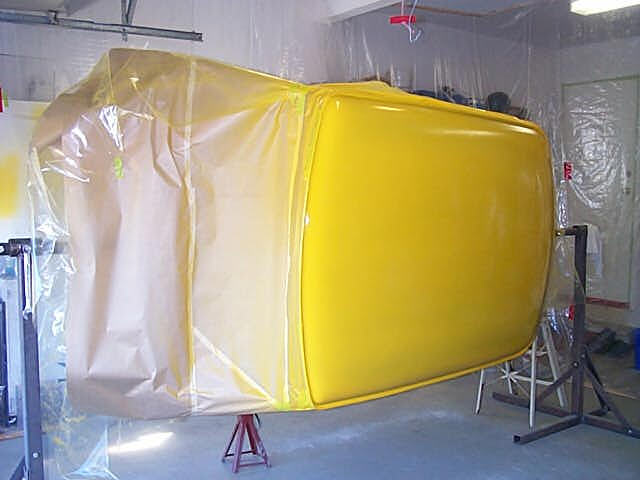
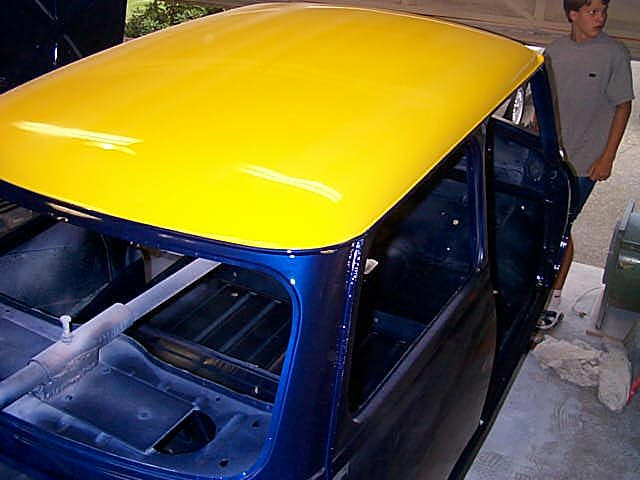
1. Mixing the yellow base for the roof. It's Mazda Sunshine Yellow. |
|
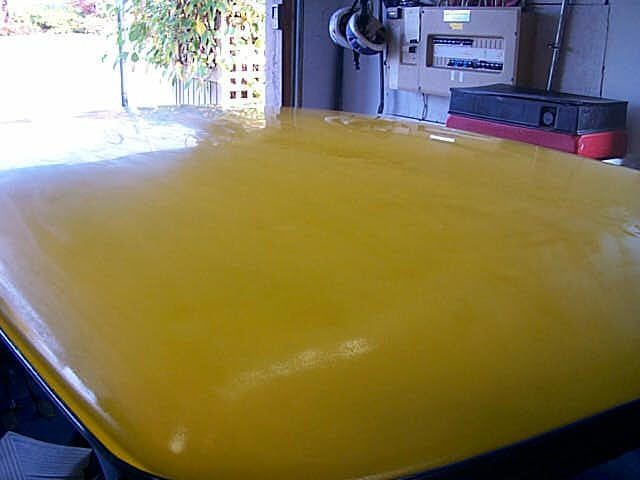
2. WOW! that's a bright roof. It should stand out in the field of Minis. |
|
|
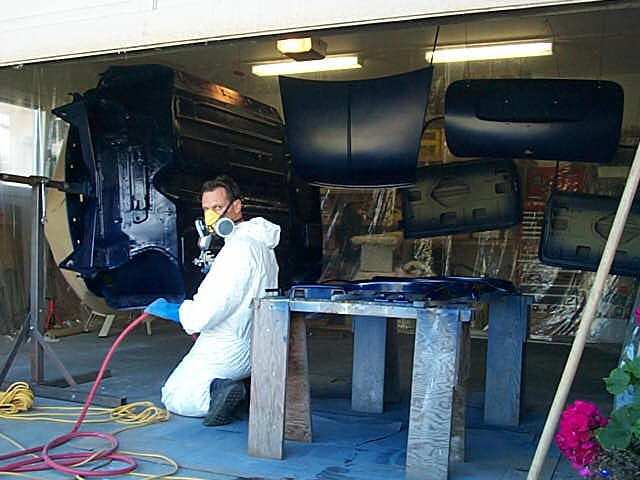
3. Now the roof is masked and the first coat of blue base coat goes on. This is Tahiti Blue Pearl. |
|
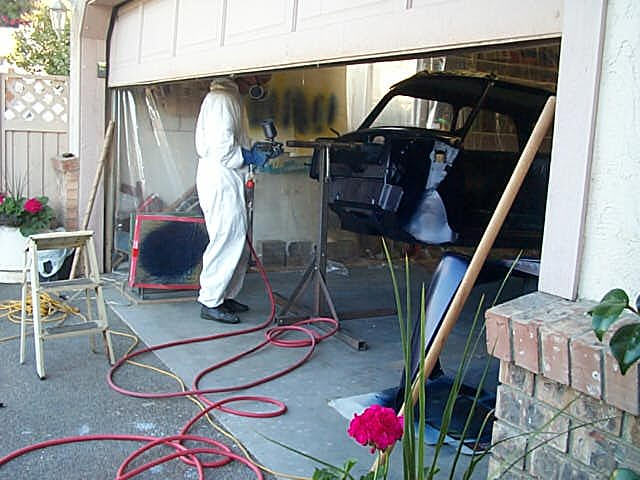
4. Three coats of color, followed by three coats of clear are applied. |
|
|
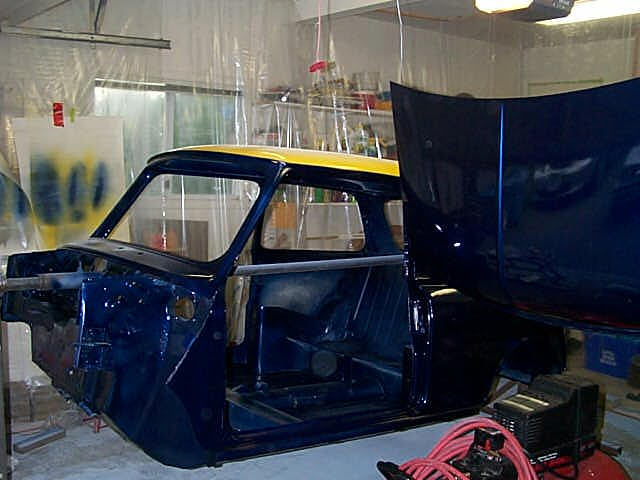
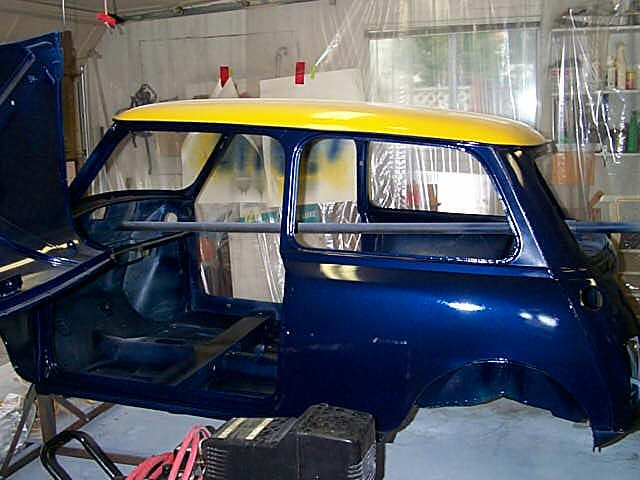
5. The finished product. |
|
6. A good shot showing the colors and the contrast. It has a good shine, but I still need to wet sand and polish the surface to get a smoother finish. |
|
|
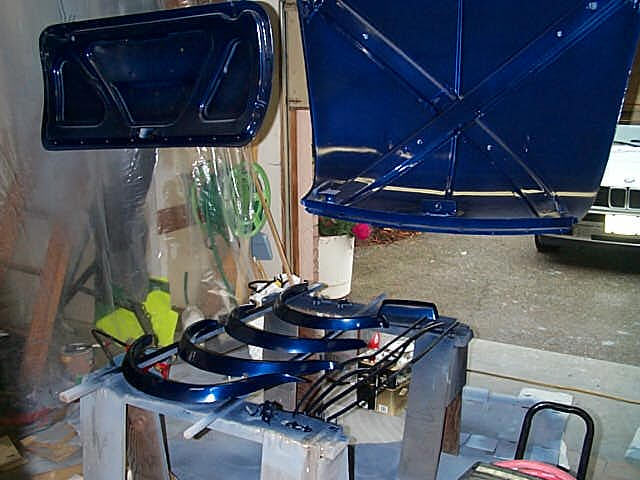
7. Assorted parts |
|
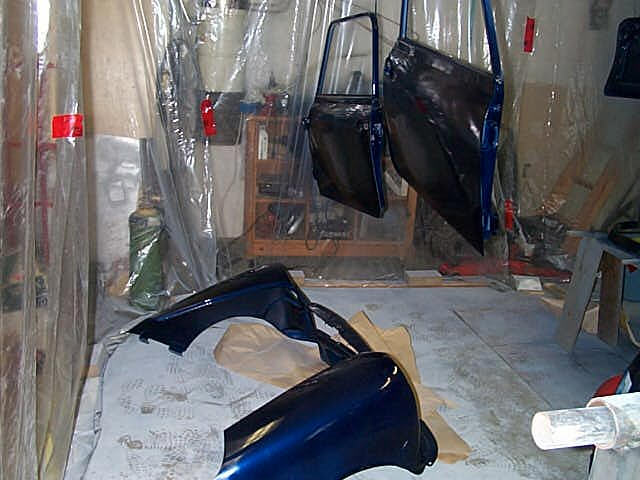
8. The boot lid, hood and W&P style arches. I painted the seam covers off the car and will put them on later. |
|
|
9. Well, what do ya think?? |
|
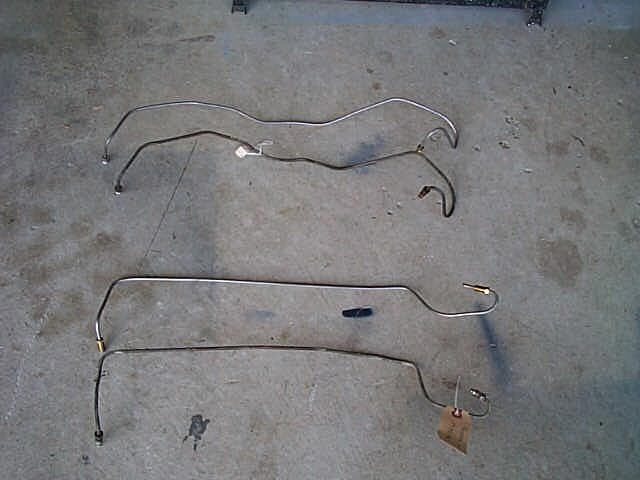
10. Here I am using the old brake lines as templates to from the new ones. Old ones are on the bottom, new ones on top. |
|
|
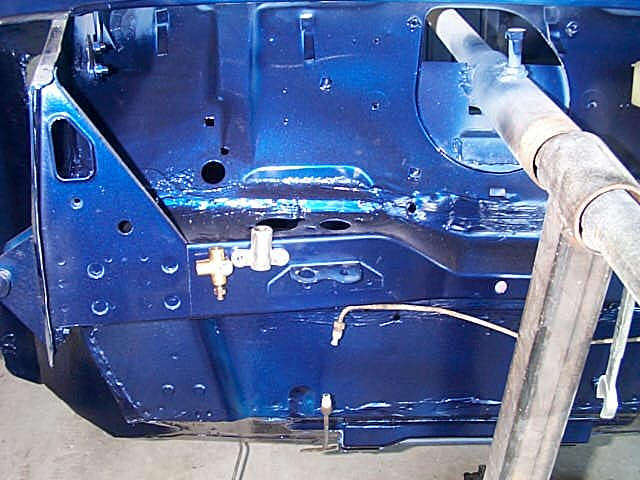
11. Brake lines coming up from the underside, and you can see the Honda Clutch T that I an using. |
|
12. A trial fit of the brake master and the proportioning valve. I am using an adjustable proportioning valve on the line to the rear to balance between the front discs and the rear drums. |
|
|
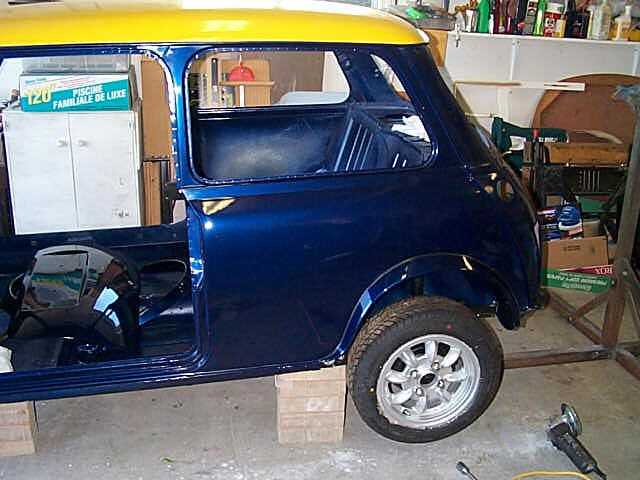
13. Rear sub frame all installed, W&P style rear arches screwed into place and the rear wheels and tires bolted up...starting to look like a car again! |
|
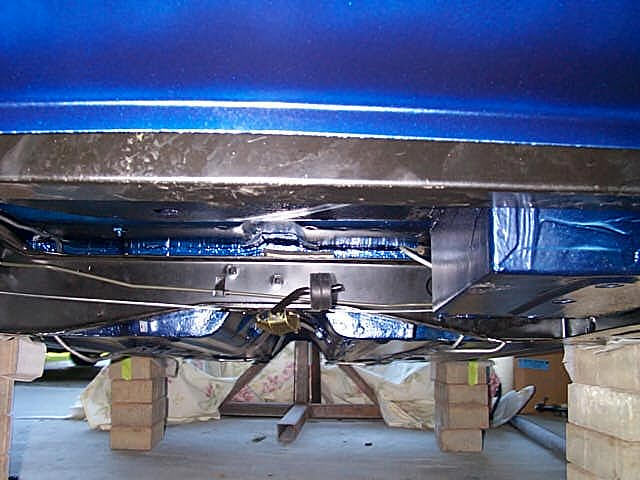
14. A few of the new sub frame and the undercarriage of the car. |
|
|
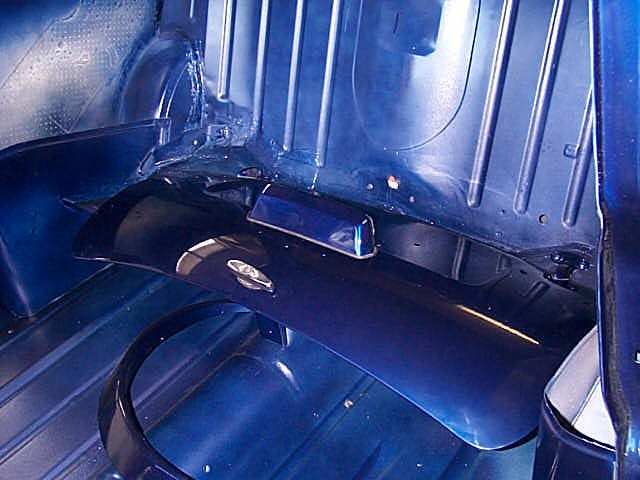
15. Interior shot, also showing the boot lid and the front arches. |
|
16. You can't really tell from the photo, but this is after the roof has been wet sanded and them polished. It made quite a difference in real life.. |
|
|
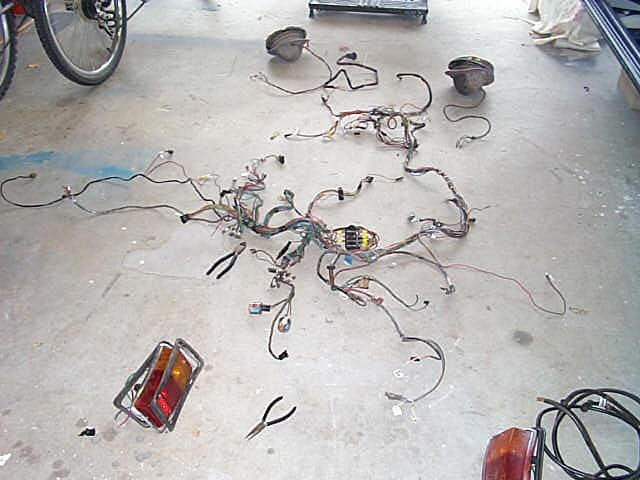
17.AHHHH, the dreaded electrical job has started. I will install the stock Mini and then the Honda engine one will be merged in later. |
|
18. Rear wiring harness gets installed. |
|
|
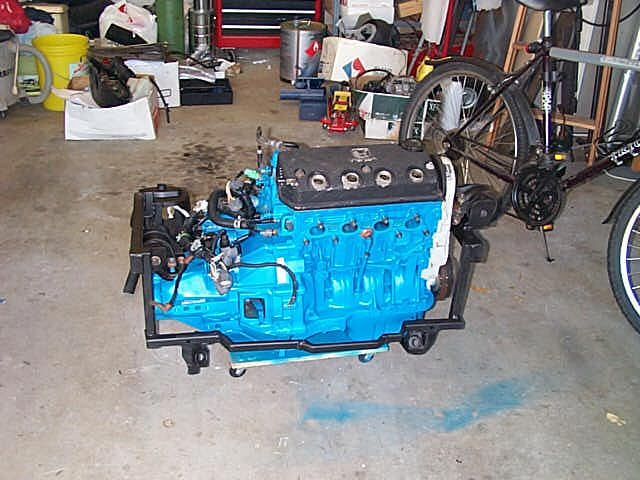
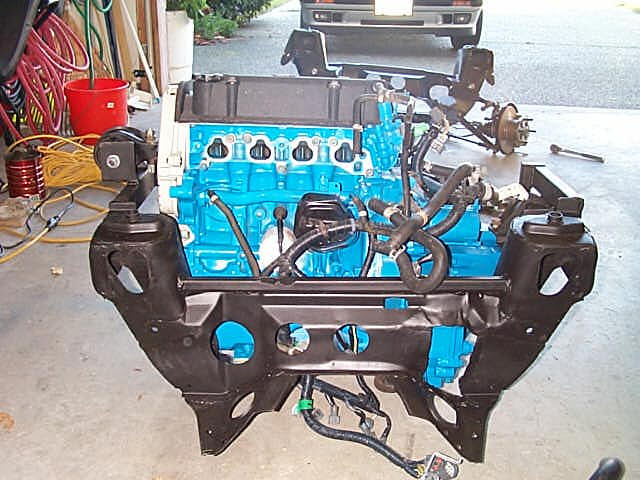
19. Making the engine look a little nicer. Color is Ford Blue. |
|
20.A rear view of the engine sitting in the sub frame. I wont be able to change the oil filter, so will need to install a remote oil filter assembly |
|
|
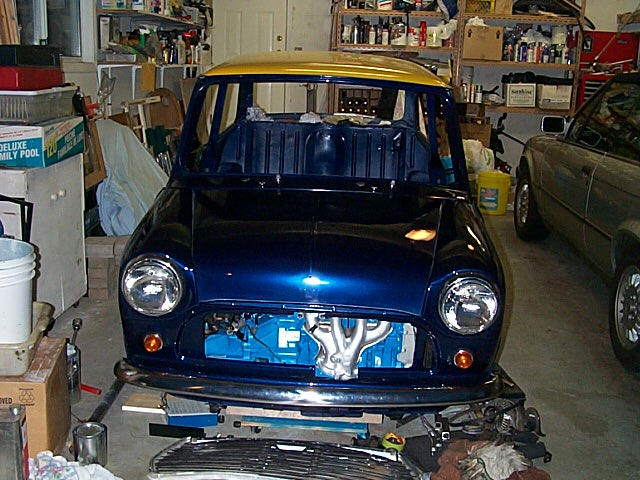
21. A shot of the engine and sub frame installed in the car and the hood sitting in place. The front end now has all the lights and bumper installed as well. |
|
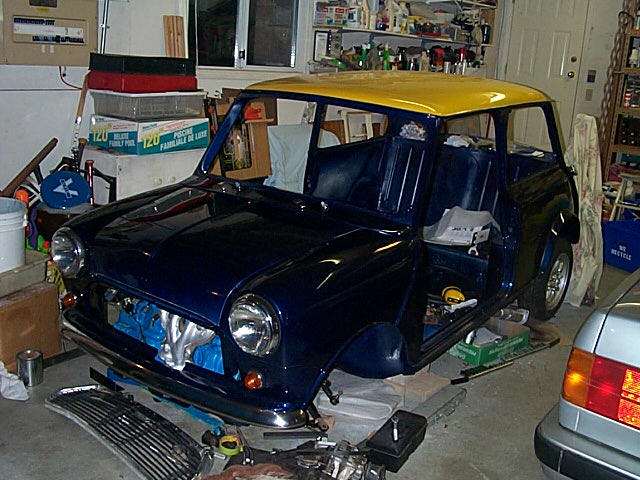
22. A side view show the progress. |
|
|
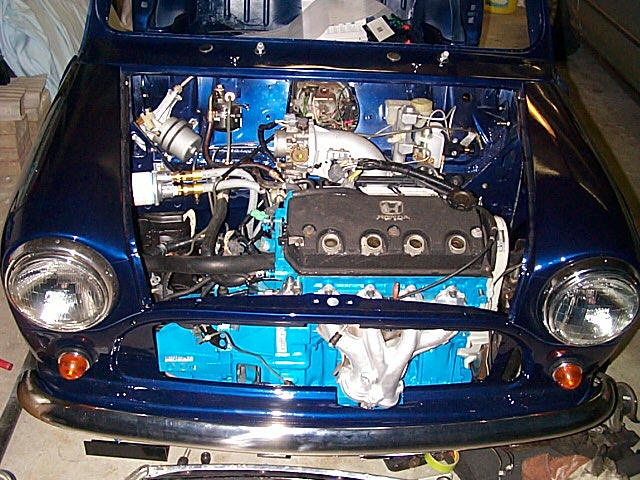
23. A shot with the hood removed. I still need to sort out the radiator, alternator and the drive shafts. |
|
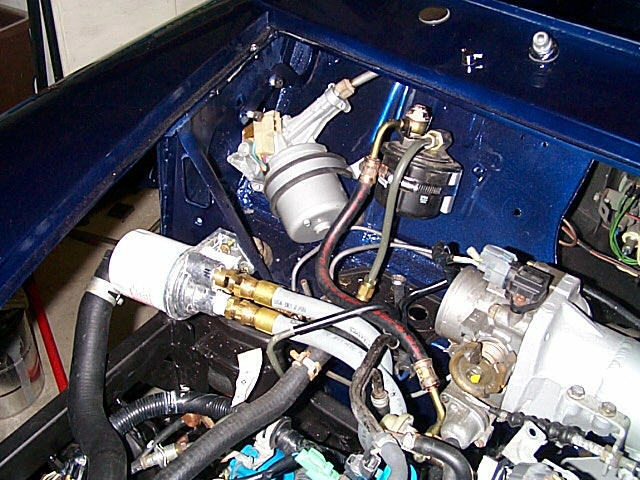
24. Here is the remote oil filter installed. You can also see the high pressure fuel filter, installed by using the washer bottle bracket. Wiper motor and chrome bits also visible. |
|
|
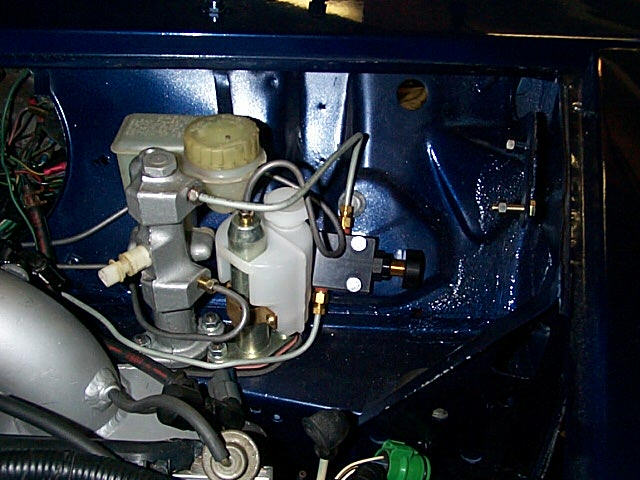
25. Rebuilt and painted brake master, new clutch master and the proportioning valve all installed. |
|
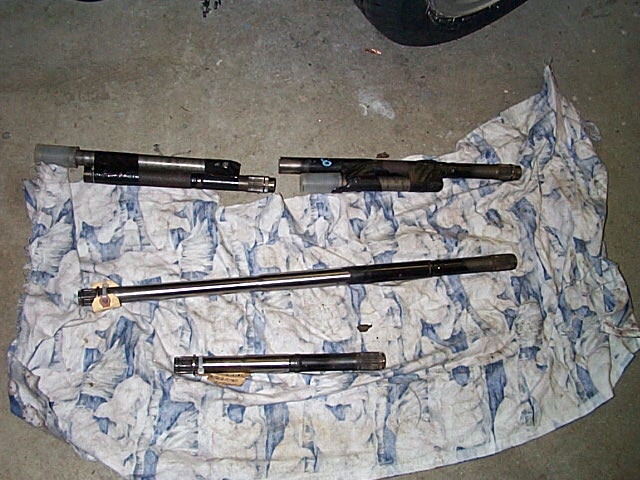
26..Drive shafts back from the local racing shop..Mini ends on the outer and honda inners...more to come. |
|
|
|
|
|
|


|
|
|
![]()
|
|
More to come later................ |
|
||
|
|
|
|
|
|
|
Home |