|
|
Mike's Mini Project - page 8 |
|
|
|
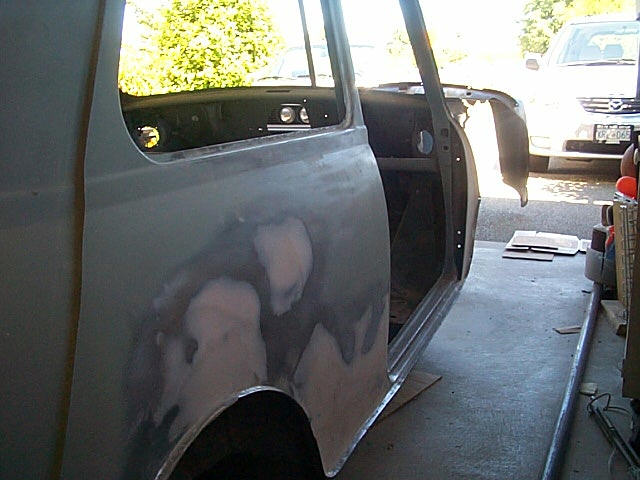
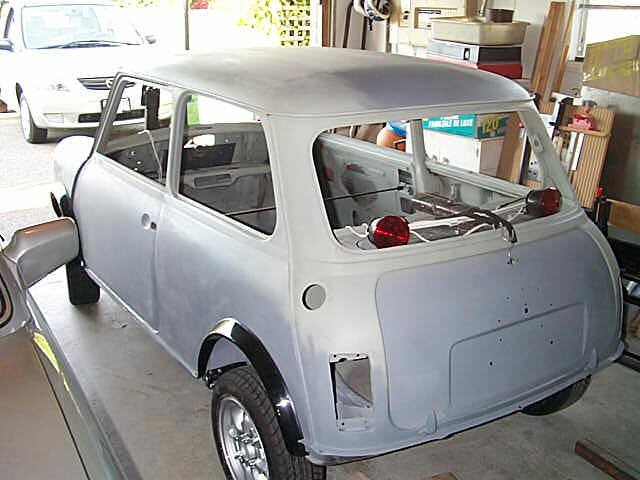
The work continues with the final body prep. Lots of filling and sanding. This is dusty work...and slow. Also the primer, seam sealer and rock guard are applied. |
|
|
|
|
|
|
|
|
|
|
|
|
|
Home
Mike'
Project | | Page 1 | Page 2 | Page 3 | Page 4 | Page 5 | Page 6 | Page 7 | Page 8 | Page 9| Page 10 Page !!
|
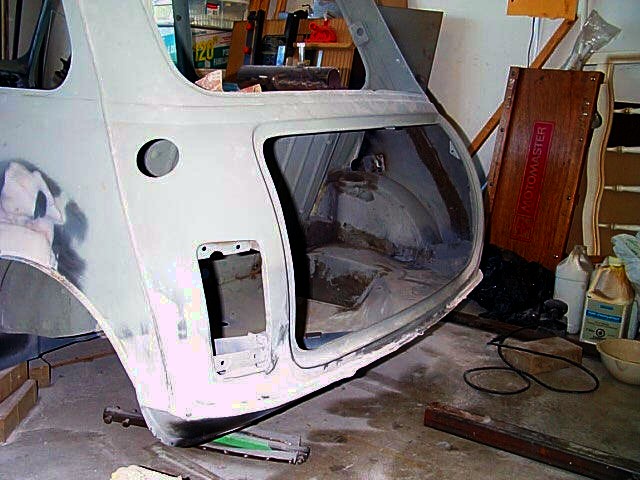
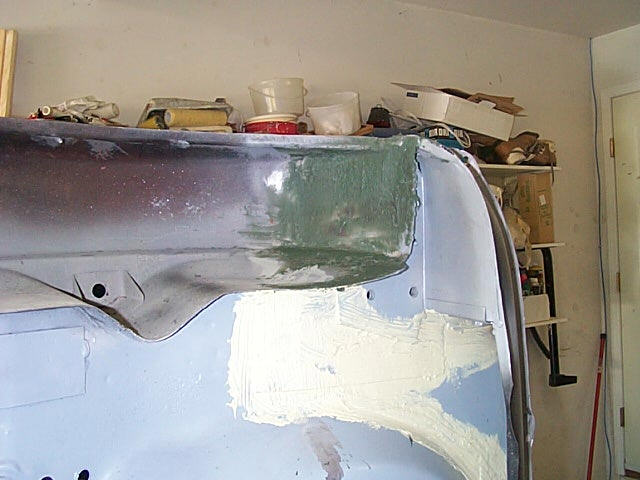
1. Now its the rear of the car where all the panel repair work was done and its almost finished with the filler. |
|
2. A view of the RH side with the filler in place. |
|
|
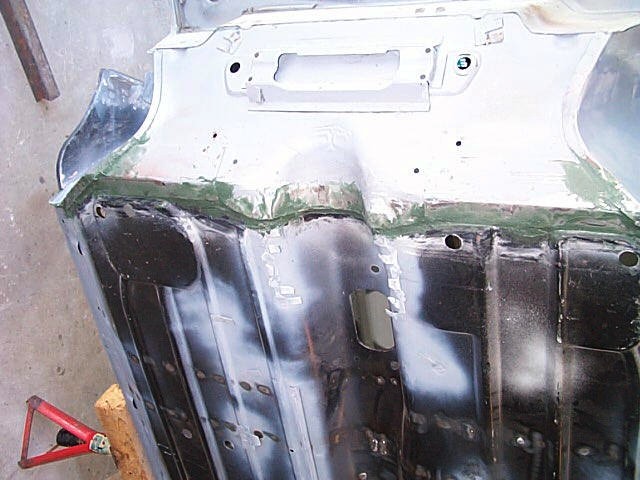
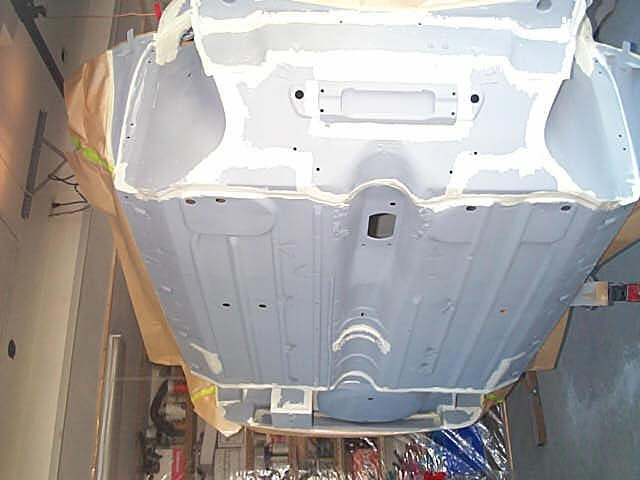
3. The car is back up on the rotisserie so I can fill in all the weld joints with the fibreglass filler. The bottom will then be primed, seam sealed, coated in rock guard, then painted with the base/ clear. |
|
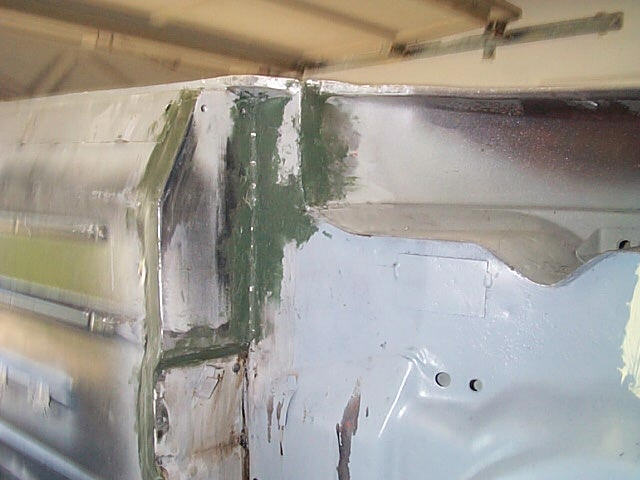
4. This show the filler in the section where the front of the floor joins the rest of the body. I'm trying to make sure there will be no leaky seams!. |
|
|
5. Picture of the rear wheel well getting the same treatment as the rest of the car. |
|
6. Car up on the spit, most of the bodywork completed. Next a final sanding with 400 grit, and an inspection for any uneven panels using a black guide coat over the grey primer. |
|
|
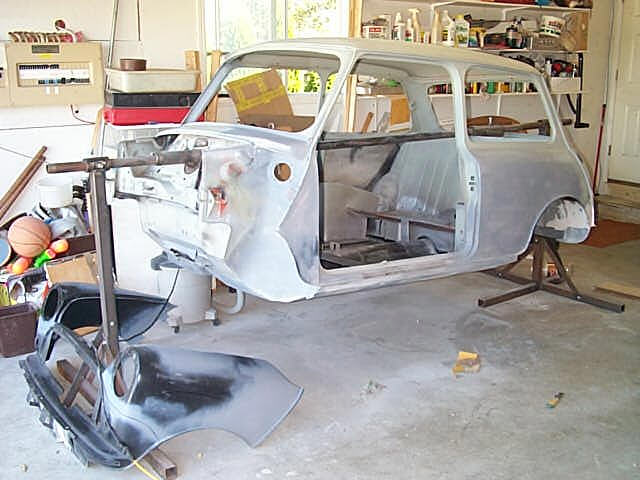
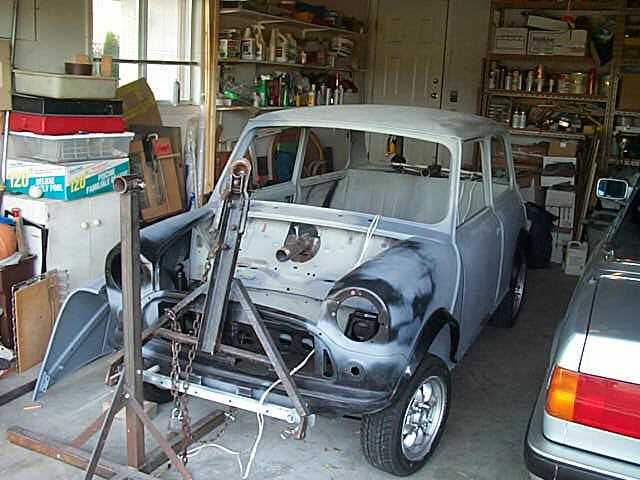
7. The car was re assembled with sub frames, front end, doors, trunk and hood to ensure all parts still fit after all the body work. Tow bar on the car was used to tow to our annual car show. |
|
8. I won the award for the car "Only it's owner could love!" |
|
|
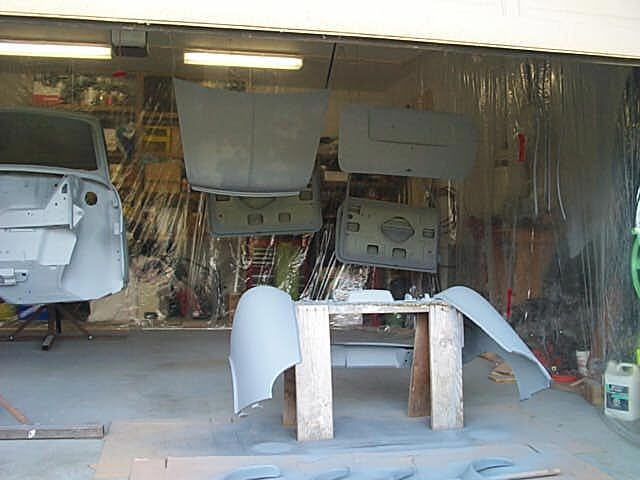
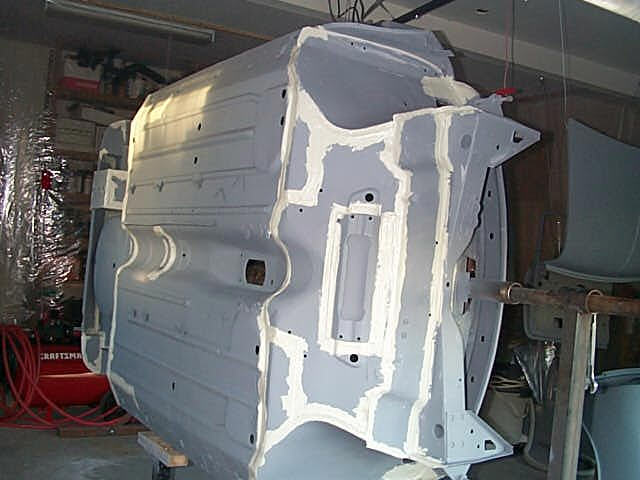
9. First coat of primer on the car. seam sealer and rock guard were completed after that. |
|
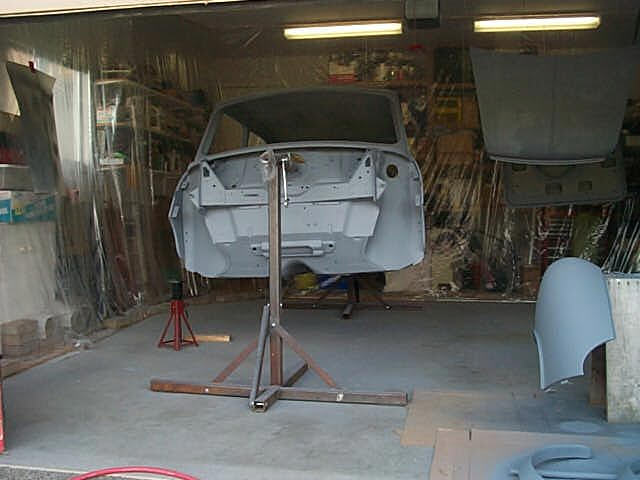
10. It made it easy to spray the car being able to turn it on the spit.. |
|
|
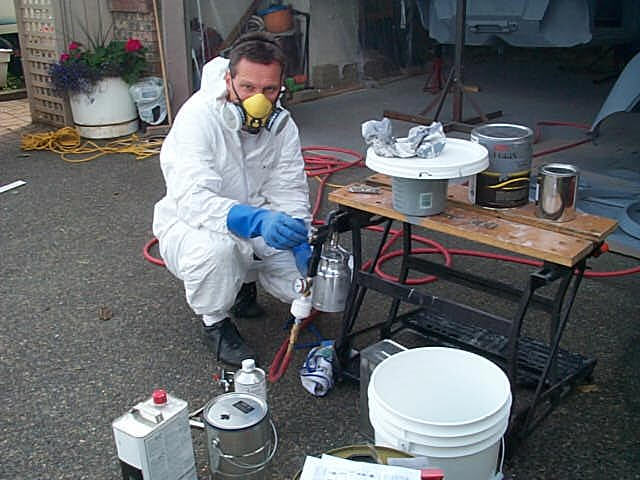
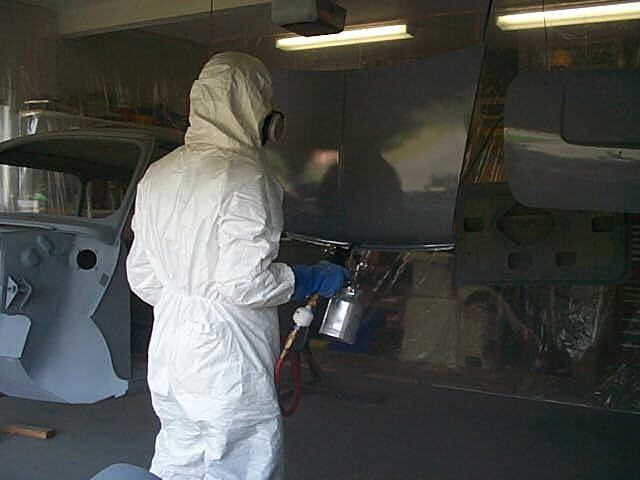
11. Mixing the primer..nice outfit Mike! Special paint suit, gloves and respirator. |
|
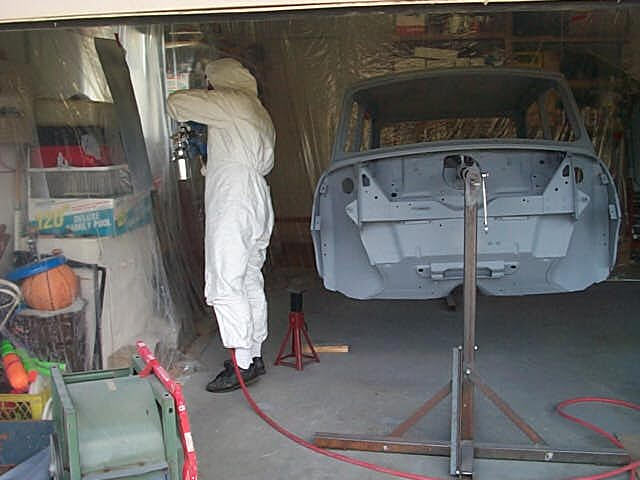
12. Setting up the gun. You can see the plastic walls I hung on three sides of the garage to make my "spray booth". |
|
|
13. Another coat of primer...looks good when its wet! |
|
14. Where did I go? A bit of over spray in the air. this all turns to dust and drops to the floor to be swept up later. |
|
|
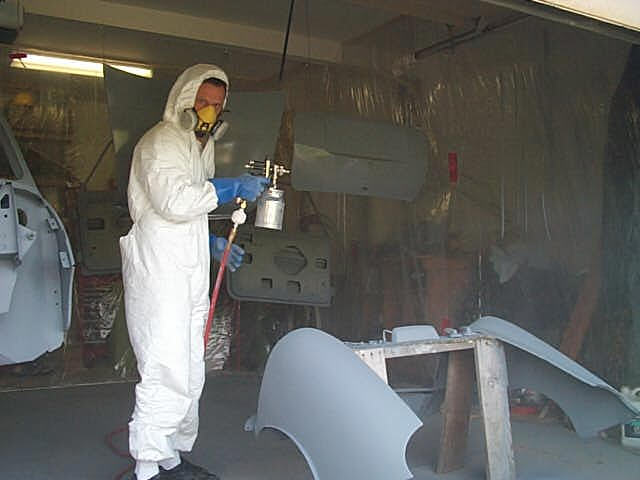
15. Spraying the front off the car made the job easier. |
|
16. Now all the seam sealing is done over the new primer. |
|
|
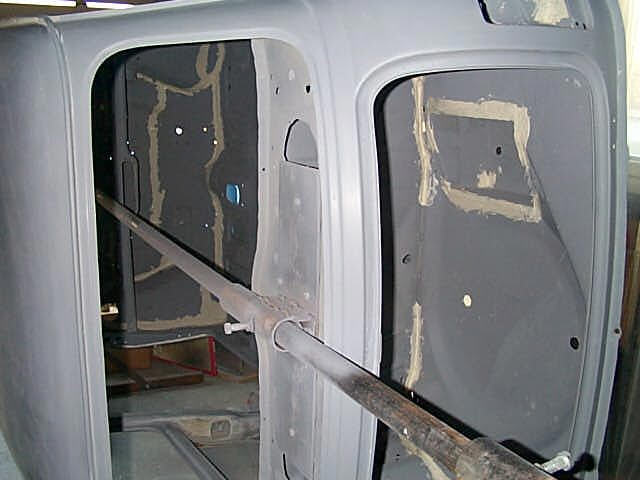
17. More seam sealer in the trunk and the inside of the car. |
|
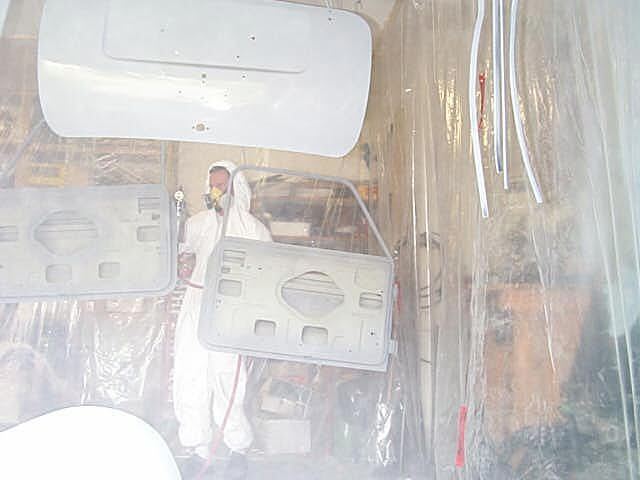
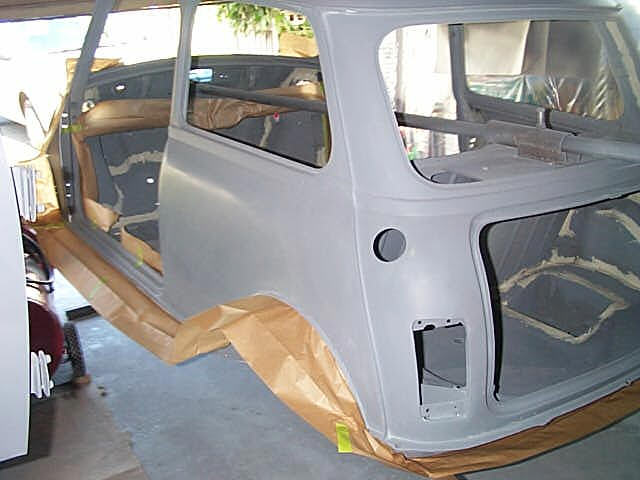
18. The car masked off so I can spray the rock guard, This was applied to the floor inside and outside, and all under the fenders (wings) and inside the boot. |
|
|
19. This shows the rock guard after spraying. Its slightly yellow and transparent. |
|
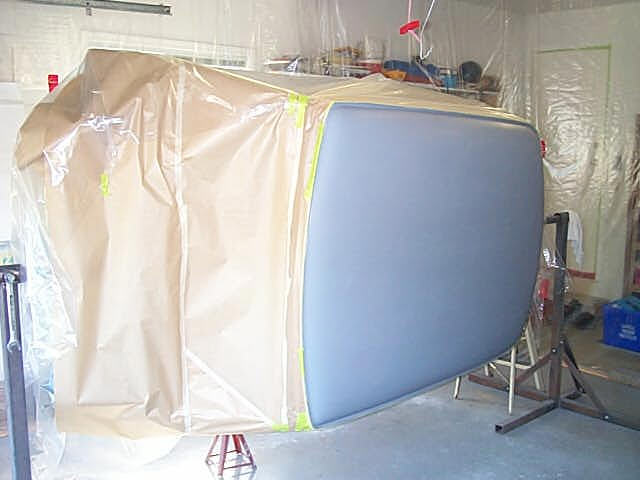
20. Now the car is masked off so I can spray the roof with the base. |
|
|
|
|
![]()
|
|
Click over to the next page for more....the painting is completed and the car is starting to look good! |
|
||
|
|
|
|
|
|
|
Home |