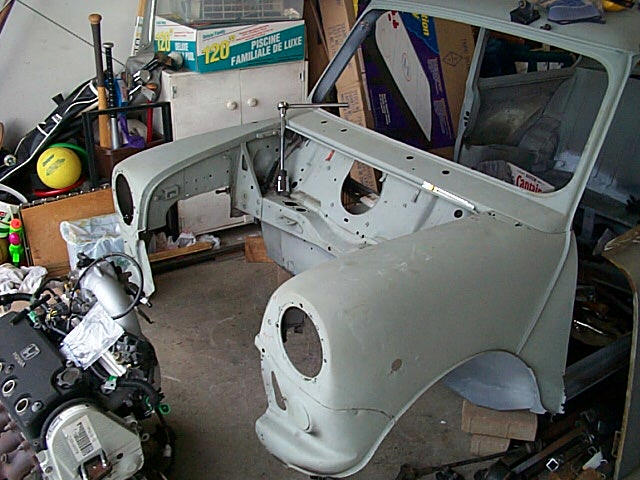
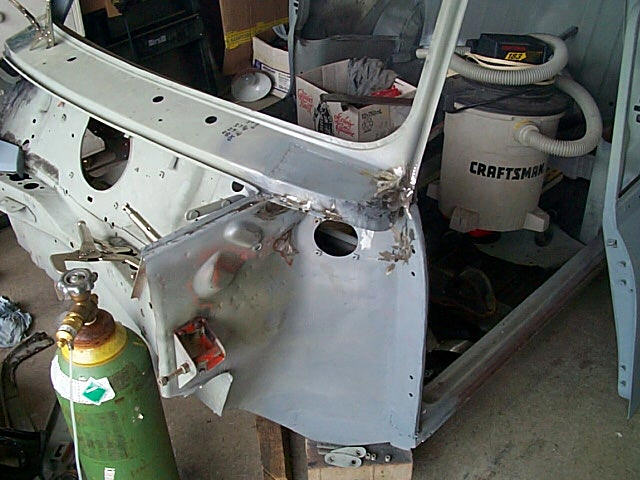
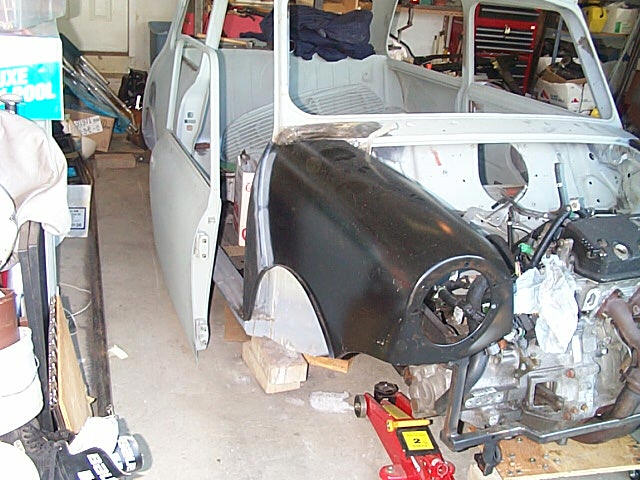
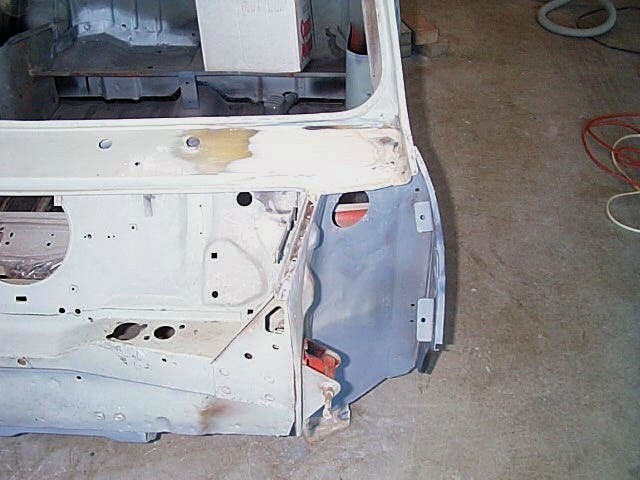
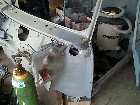
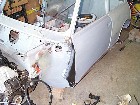
| 1. Now its time to work on the front of the car, shown here before
cutting off from the doors forward. |
|
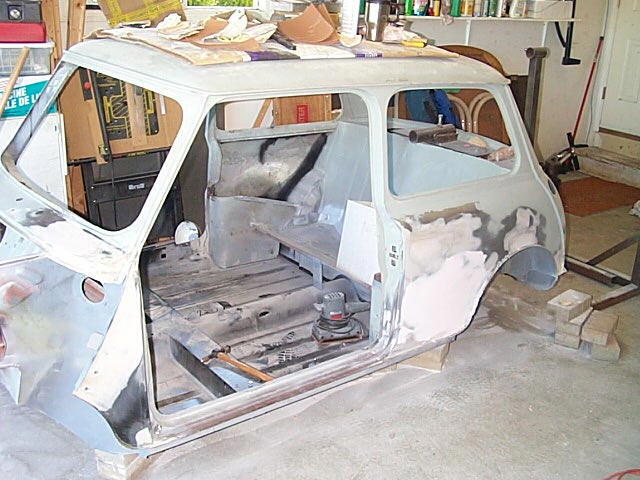
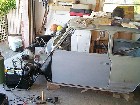
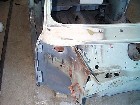
2. Well there's no turning back now, all the panels have been taken
off, using cuttoff discs and the grinder. |
|
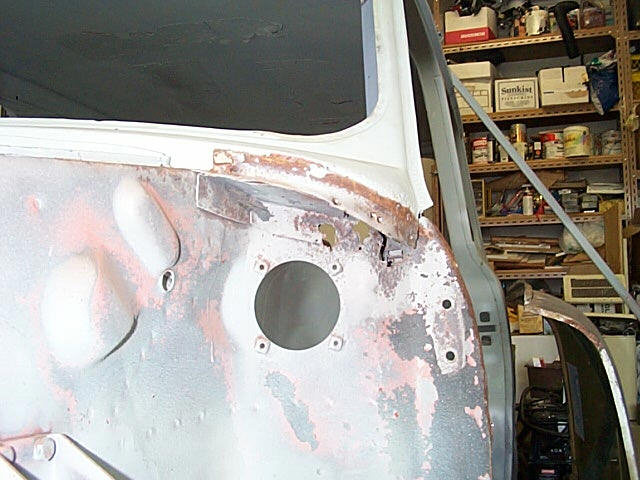
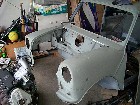
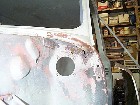
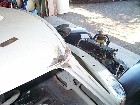
| 3. Here you can see the rust to deal with under the windscreen. I will
repair this with a partial replacement panel. |
|
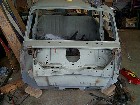
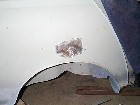
4. This show the same problem on the other side. |

|
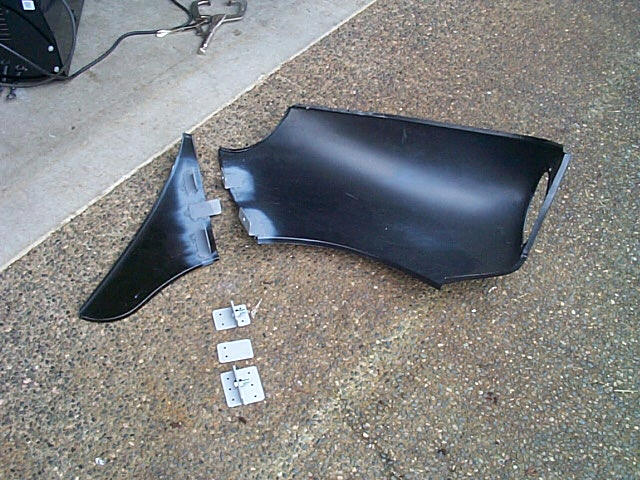
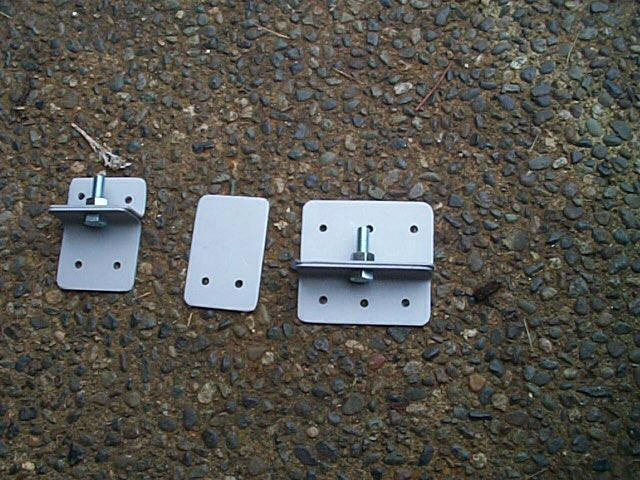
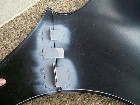
| 5. Here's how the a-panel and the wings will be fitted together. With
two brackets overlapping one direction and the center bracket the other
way, there is no flex in the joint. |

|
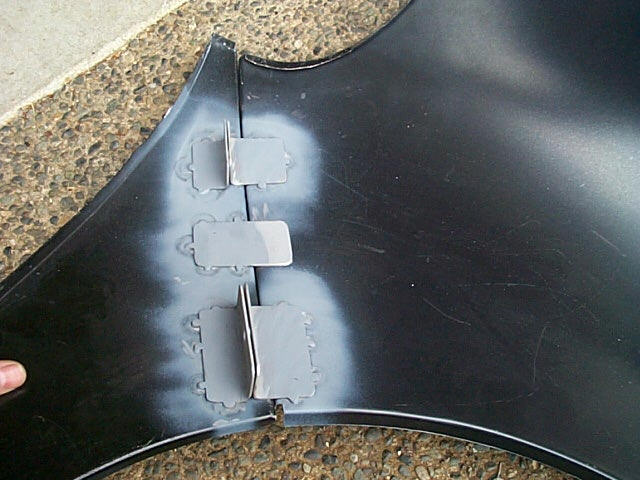
6. A closeup shot of the inside with the a-panel and the wing fited. |
|
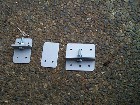
| 7.Here's the brackets. They are made from flat stock 16 guage, bent
at 90 degrees. |
 |
8. The front area now repaired. |
|
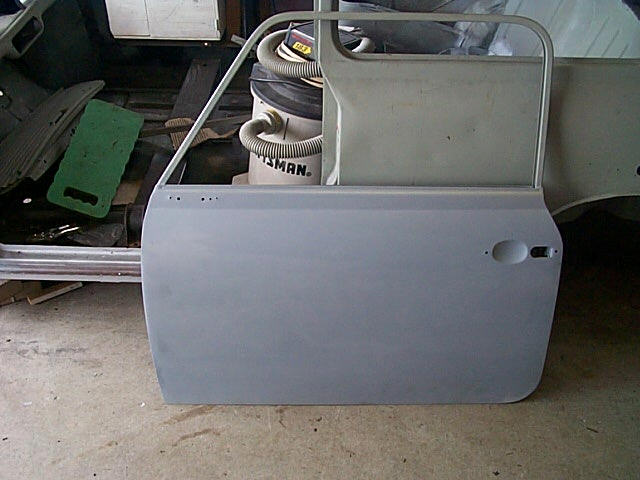
| 9. Here is the driver's door all preped an ready for paint. It had
a large crease from being opened too far, which I removed with a spot puller
and touched up with filler. |

|
10. With the fit of the a- panel confirmed, it is welded into place,
after removing the door. The door comes off and on several times as the
fit is checked and rechecked. |
|
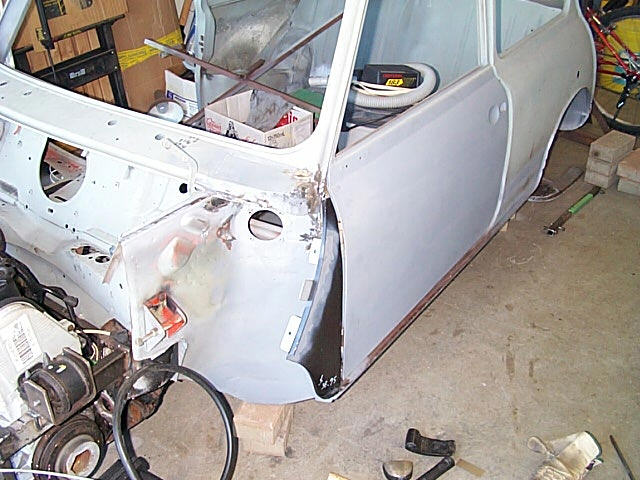
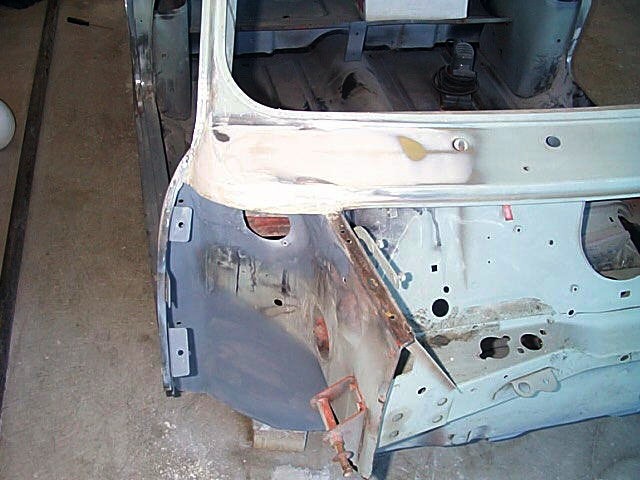
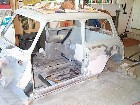
| 11. Another view of fitting the a-panel. The front wings were also
mounted in place and clamped to the front apron, which was bolted to the
subframe, all to verify the alignment of the a-panel. |
|
12. Here you can see trial fitting of the wing... |
 |
| 13. This view shows where Metal has been welded in from behind to fix
the rusted section in the corner of the roof. |
|
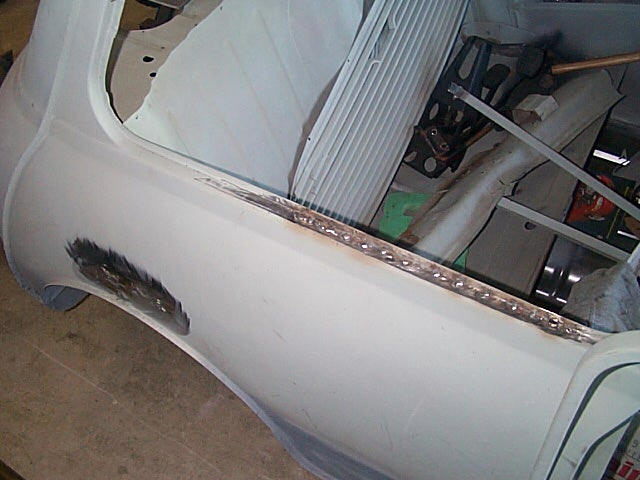
14. A strip of metal was formed and wedged up from underneath, then
tacked in place to repair the rust along the edge of the rear window on
the passanger side. (RH) |

|
| 15. Rear side marker holes are filled in with metal welded in place.. |
|
16. Some more fitting of the a-panel on the RH side. More door on,
door off, door on, door off. |

|
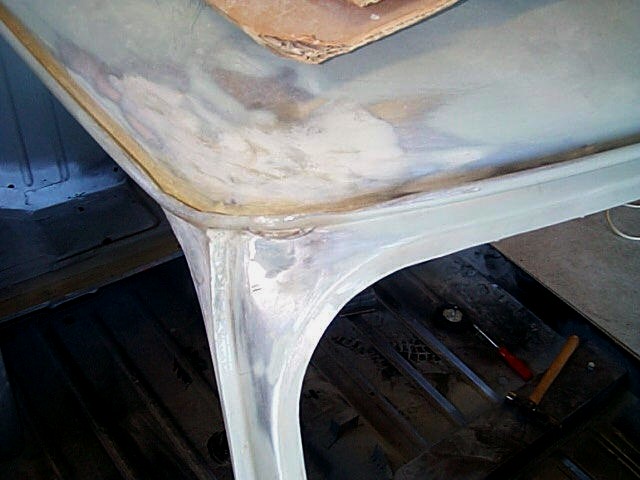
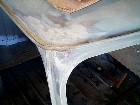
| 17.The roof corner after a coat of short strand fibreglas filler, and
a coat of USC Lite filler. |
|
18. The RH side corner after the same as well as a coat of polyester
filler. |
|
| 19. And the LH side after short strand fiberglas filler, USC lite,
and polyester icing filler, lots of sanding!. |
|
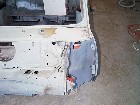
20.Body work on the a-panel, the door step, and the filled in rear
marker light. Any areas with welded in panels or repairs are first given
a coat of the fibreglass filler. This ensures a waterproof panel. The pink
is the Icing, the brown is the USC lite. |
|