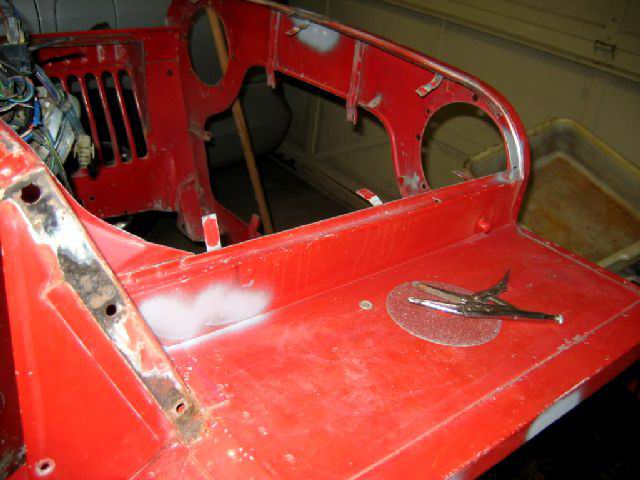
1. Filling in the strap mounting holes on the RH side as
well..
|

|
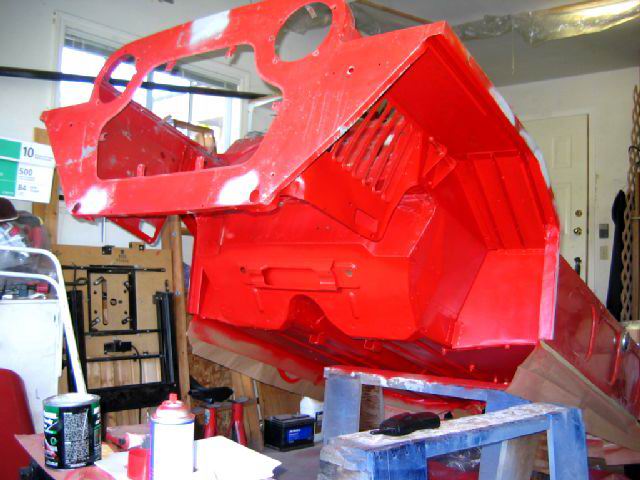
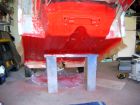
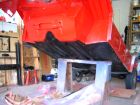
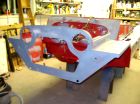
2. Painting the underside of the Moke red.
|
|
3. All the wheel wells painted..
|

|
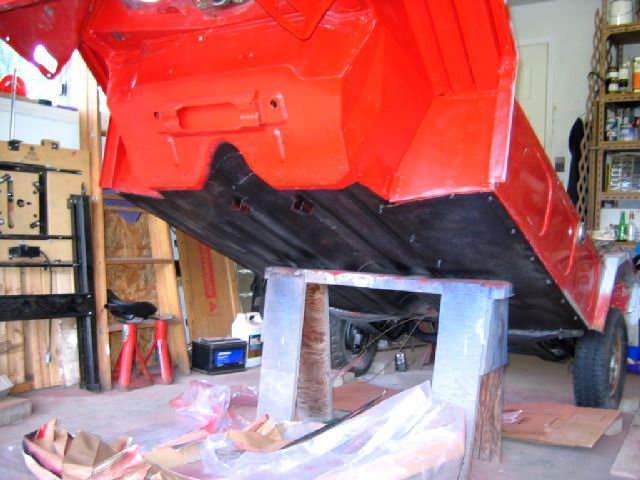
4. Finally a coat of roack guard on the underside of
the floor to keep any rock chips away.
|
|
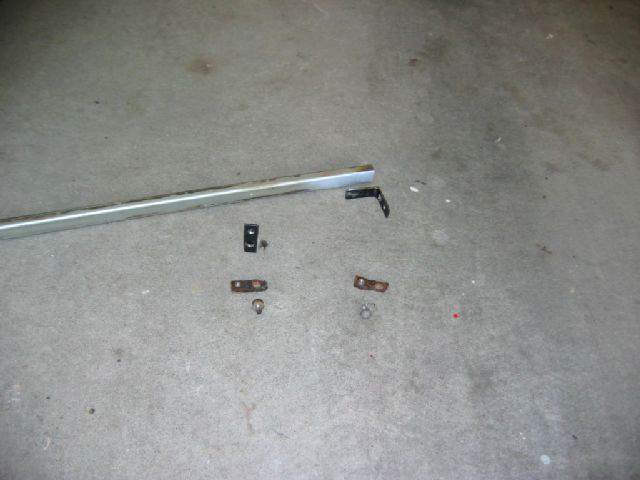
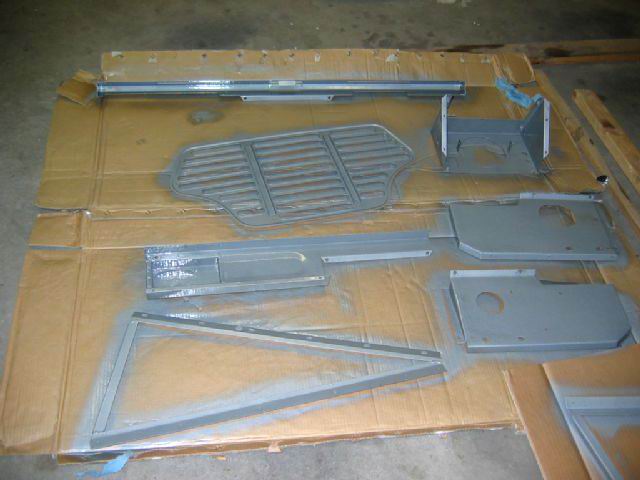
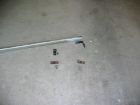
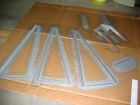
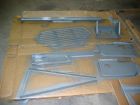
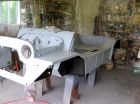
5. Fabricating new parts for the front windscreen frame as
the old parts were completely rusted away. Old and new bits shown in
photo.
|
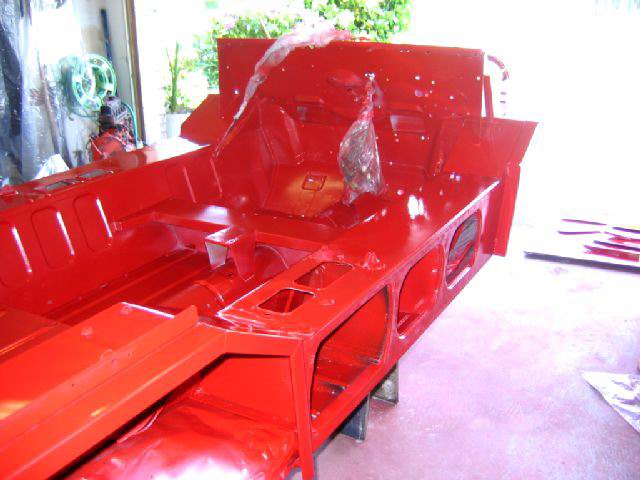
|
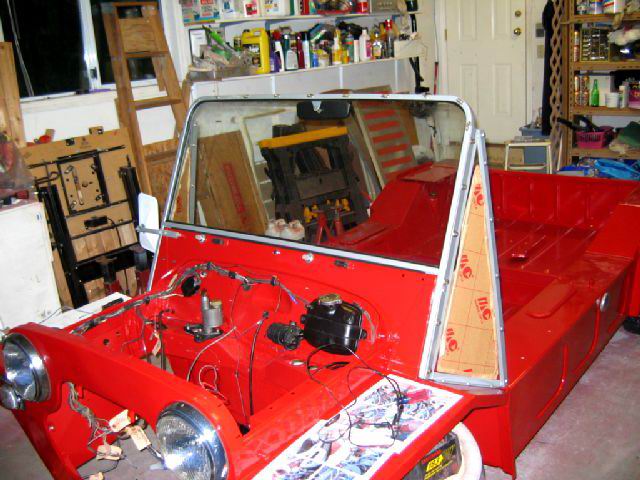
6. Frame completed and painted silver. A local galss shop cut
and installed a new windshield using proper automotive safety glass.
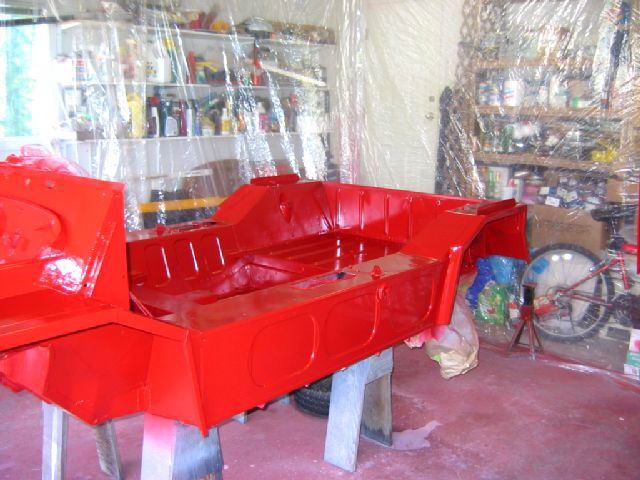
|
|
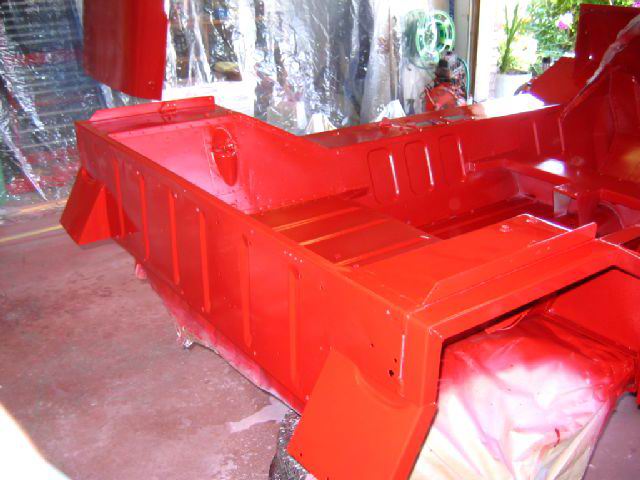
7. Side window frames repaired and painted.
|
 |
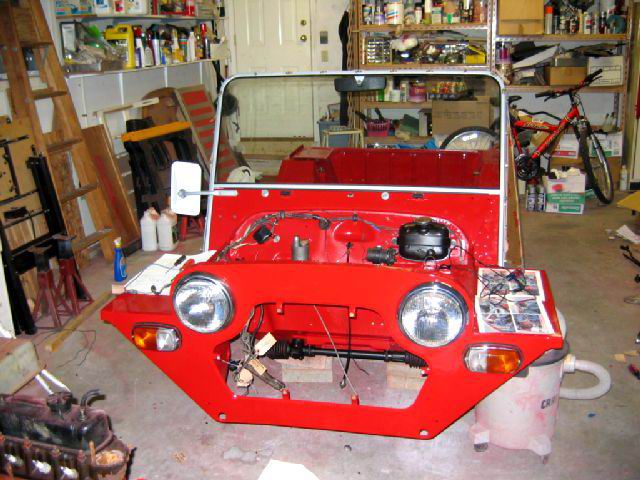
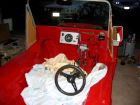
8. As well as the grill and dash parts, and rear tire mount.
|
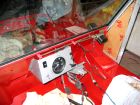
|
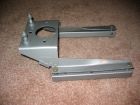
9. Rear spare tire mounting bracket.
|
|
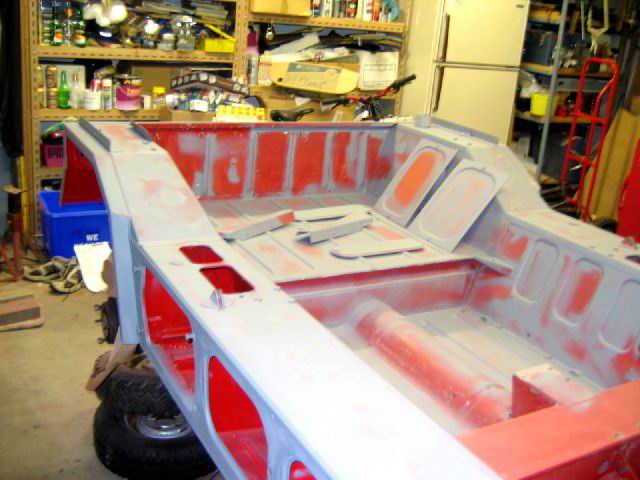
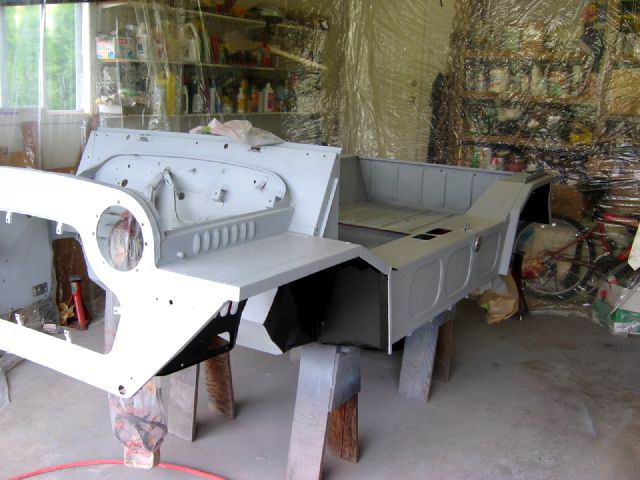
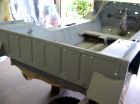
10. Finishing the skim coat of filler and priming the surface
to get ready for the high build primer.
|
|
11. Touching up the outside surfaces getting ready for high
build.
|

|
12. Same on rear.
|
 |
13. And the side panels...
|

|
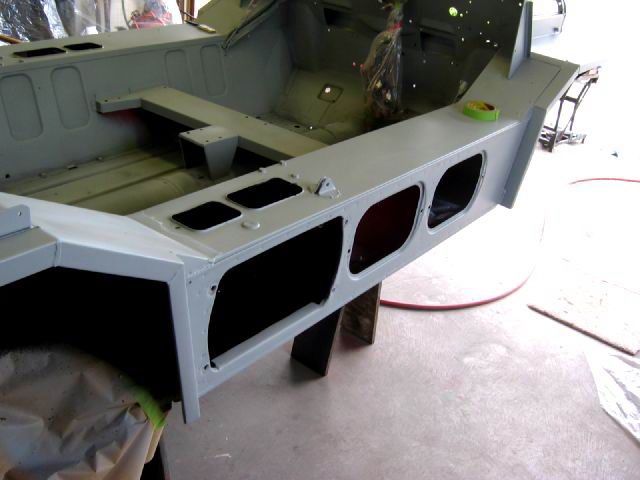
14. First coat of high build primer, to be flattened down,
followed by a second coat.
|
|
15. High build primer.
|

|
16. More primer shots. You can see the rock guard in
the wheel wells.
|

|
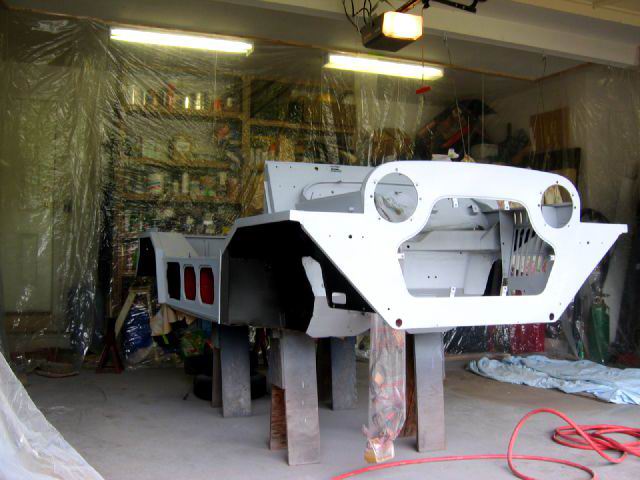
17. Done and
ready for color!
|
|
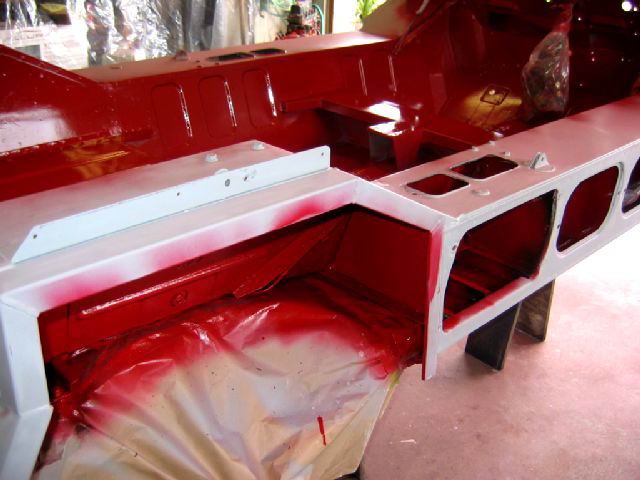
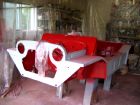
18. Painting the inside and
wheel wells first, covering up the paintable rock guard.
|
|
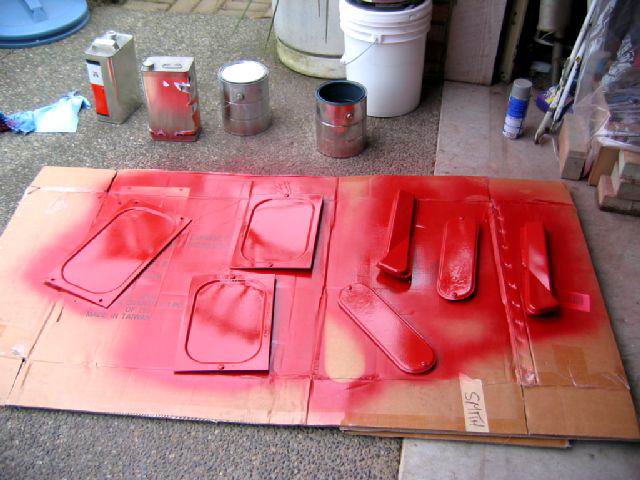
19. All the panel covers get
several coats of Moke Red as well.
|

|
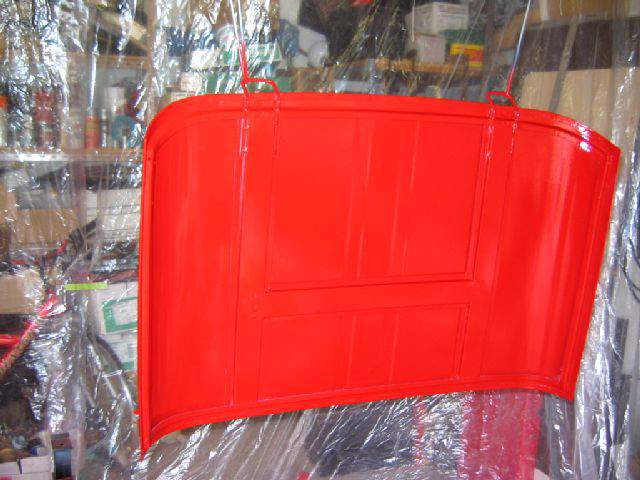
20. And both sides of the hood
as well.
|

|
21. Starting to look like a Moke
again.
|

|
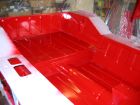
22. Inside now with several
coats of red.
|
|
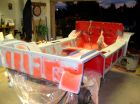
23. An then the rest of the body
gets it's color!
|

|
24. Nice....
|

|
25. You can never have too many
shots of a newly painted Moke!
|

|
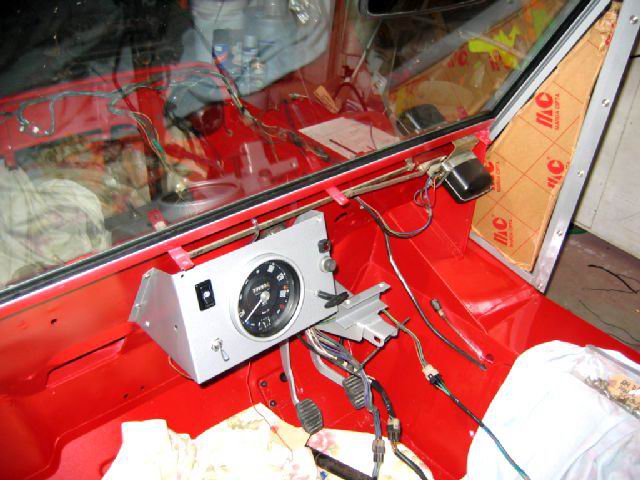
26. Assembly begins with the
dash and windows.
|
|
27. New front signal lights from
Australia.
|

|
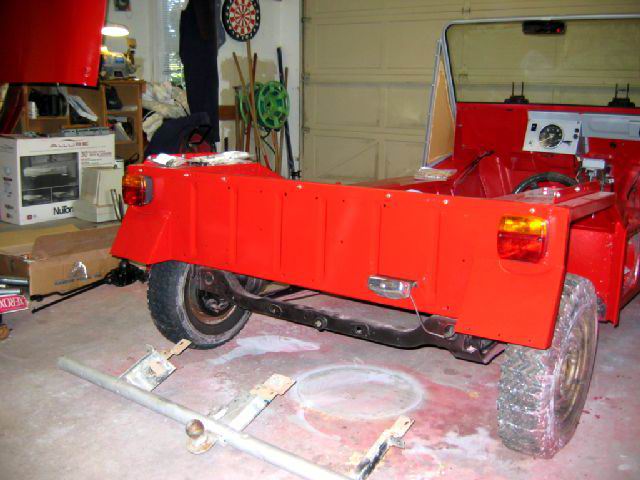
28. New side windows installed
and fuel pump going in.
|

|
29. Pedals, wiring and brake
lines. Had to be careful here to keep any brake fluid off the paint..
|
|
30. New tail lights wired up and
tested.
|

|